Quilts are a Labor of Love
- Lamar Shahbazian
- Nov 20, 2020
- 7 min read
After 24 years, I finally got around to making a quilt for Katelyn. I had made one for Brian when he was 3, but you know what they say about how your time disappears when the 2nd child arrives? After Katelyn was born I didn't have much time for crafts, but now that I'm retired I am rediscovering my love of quilting. It's true what they say, that each quilt you make has love in every stitch. In my childhood, my Mom used scraps from our "first day of school" or "6th grade graduation" dresses in the quilts she made, so the fabrics inspired love in addition to the stitches she took. These days, quilters sometimes buy all the coordinating fabrics needed to make a quilt, but when you do that you miss the joy brought by the memories of the fabrics.
For this quilt, we were inspired by the hand-dyed fabric Katelyn brought home from her summer in India. Using the tips gathered from making two other quilts this year, I set off to make a special gift for her birthday. Below is the finished version, and this blog will describe the process and learning. While this design was simpler than the other quilts I made this year, it is a great example of how the process is a labor of love.

Like many things, the quality of the finished product starts with the ingredients. Just like a salad tastes better when the produce is fresh from your garden or local farmer's market, a quilt made with quality fabrics and love will feel better and hold up longer. Toward that end, check out the detail of these hand-dyed and hand-stamped fabrics. It's super-soft cotton, and you can see the imperfections in the patterns caused by the hand-made process. What a unique souvenir this was from her trip! She went to the place where they actually made the fabric, so that makes this fabric an even more special addition to her memories of India.

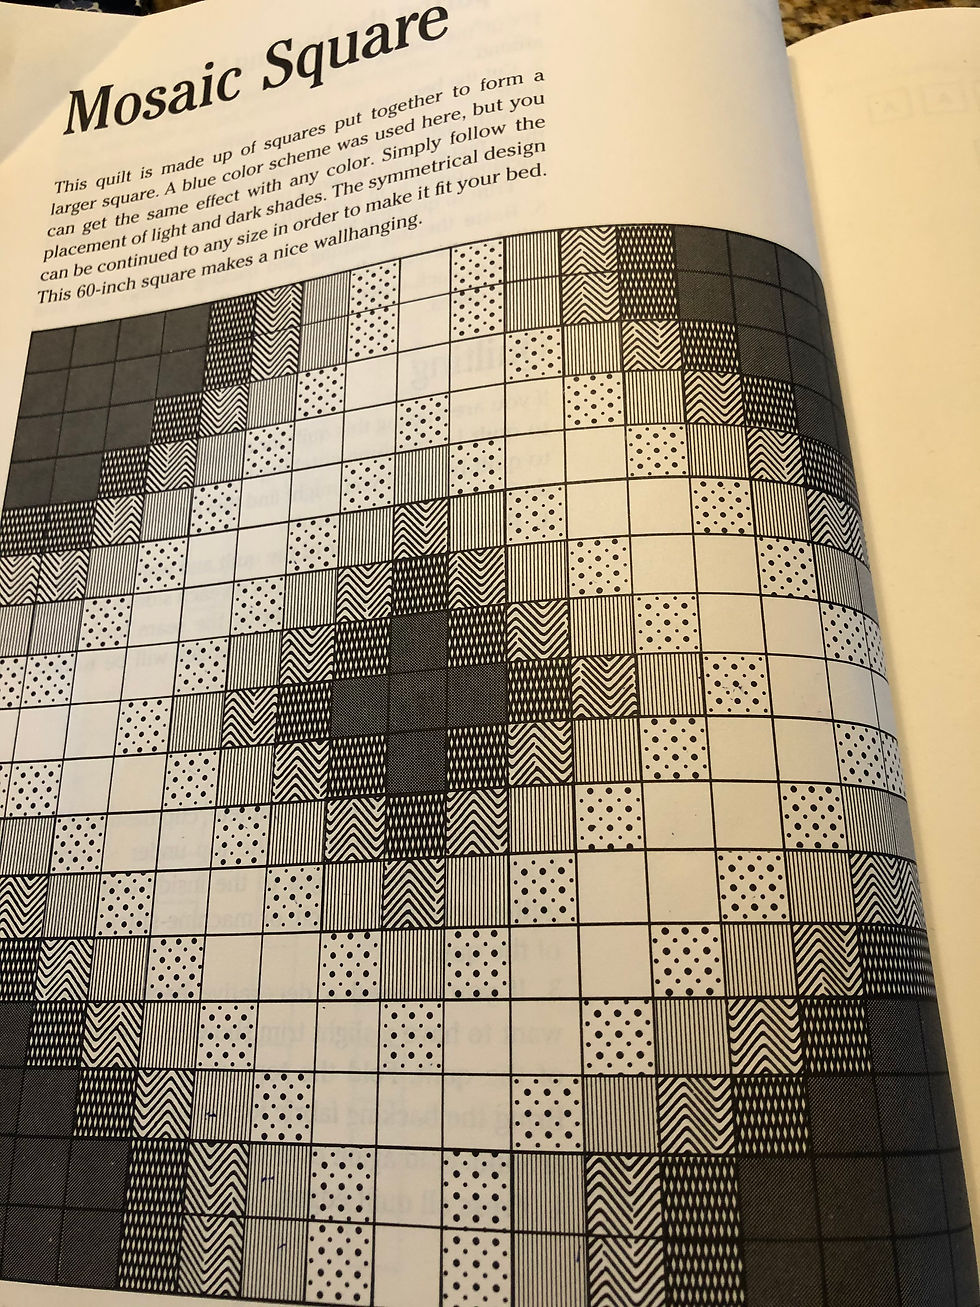
Now to get to the quilt design. When Katelyn was here earlier this summer she looked through my quilt books and picked a pattern. Luckily for me, it was much simpler than the "fence rail" I made for Brian and Anujin's wedding, or the "flying geese" baby quilt I wrote about in a prior blog. In fact, it was from my "quilt in a weekend" book, so while I didn't have expectations it would be THAT quick I had high hopes I could finish it in a few months.

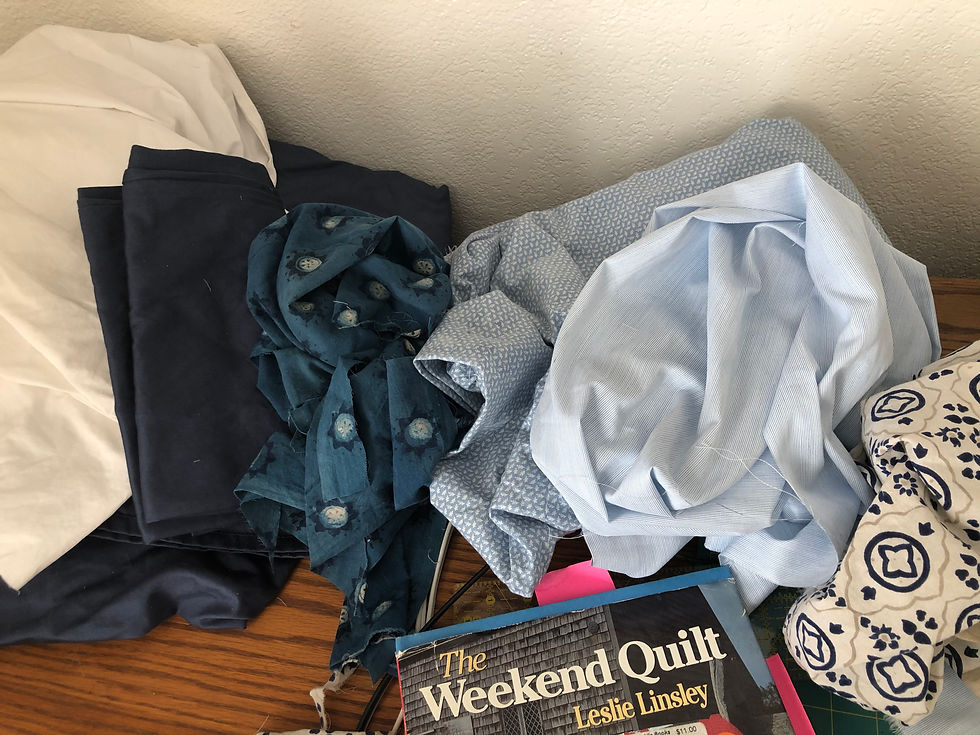
To select fabrics, we started with two of the fabrics she had brought back from India. I had made blouses from them, so we only had scraps left, thus the first challenge: fitting the amount of fabric we had into the design. Gone are the days when I go to a fabric store and easily buy the right amount of fabric needed, my goal is to use the fabric I have (5 tote boxes!) as much as possible. These were the original fabrics we identified:

I have to say that with Katelyn and her friend Nikki's help, we did a good job picking out fabrics that coordinated yet contrasted enough to look good together. That was one of my learnings from the baby quilt, too, was that my "lavendar to mauve" color scheme didn't have much contrast.
I didn't have enough of the dark blue fabric, so needed to buy some of that shade. I decided to kill two birds with one stone and buy enough to use for the back as well as the squares and border for the top. I had learned from making the wedding quilt that it's not a good idea to wait until you get the quilt top done before figuring out what you'll use for the back! Since I needed to buy dark blue fabric for the design anyway, I thought I'd be smart and buy a sheet set. The flat sheet could be used for the back, and I'd cut up the fitted sheet to use for the squares and strips for the top. Good plan, right?
What I learned while making the quilt was that the fabric in the sheet set, while it said it was 100% cotton, had some weird properties that made it hard to work with. It shed a ton of threads, and when I used the "tearing" method to get long strips, it pulled the fabric more than usual. Lesson learned - pay attention to the feel and properties of the fabric in addition to the color and content.

I sketched out the design using the fabrics identified, but once I started cutting them, I had to adjust the design because there was too little of some of them. Thank goodness for graph paper! I initially thought I could shortcut the process by not writing the number of the fabric in every square, but that turned out to be well worth doing since I constantly referred to this diagram while sewing the rows together. As I continued cutting squares, I refined the design to use a fabric of a similar hue when I was short of a particular one.

Using up existing fabric stashes is hard!!! All told, I ended up with 10 fabrics vs. the six they used in the original design. I also identified and cut the fabrics to be used as borders at this time (learning from the baby quilt!).
One of the tricks I read about is to take a black and white photo of the fabrics as a way to check the amount of contrast they had. Since my iPhone makes this easy, I employed that process right before starting to sew fabrics together.

Now I was finally ready to begin sewing. This part of the process went really fast. I only messed up a few times when sewing the squares into rows. Thanks to my diagram, my seam-ripper barely got used! The only snafu during this part of the process was I had sewed some of the first six rows together in one session, but not in order, and then in the next session I forgot the seam allowance I was using was 1/2" and switched to 1/4". Wow, was that a mistake! Before I figured it out, I had sewed another 12 rows together. If I had done the original ones in order, I could have resewed the ones that were too big to make them smaller, but because they were not consecutive rows I couldn't fix it this way. So I "fudged it" (sorry Katelyn, now you know!). It turned out OK, but would have been better and faster to keep the same seam allowance for the whole time. Lesson learned!

Once the top was complete, and I had sewed on the borders, the next step in the process is to layer the back with the batting and the top. I spread it out on the floor downstairs to enable enough room, and fastened the layers together with pins. During this part of the process for the wedding quilt I had a hard time getting all the wrinkles out of the layers, but I think that was because the top wasn't exactly square because of the more complex design. In this case, it was pretty smooth, and the few wrinkles I could smooth out during the tying process.

For those of you who are used to buying quilts, most store-bought quilts have been quilted by hand or machine. Quilting is the process of using a very small needle and sturdy thread (not much thicker than regular sewing thread) to stitch the layers together in a pattern or on the lines of the design. This is very time-consuming, and since I wanted Katelyn to have this quilt THIS YEAR, I employed my usual technique of tying the quilt. Tying requires you to stitch and tie a single thread every 4 inches are so, and is much faster than quilting.
Tying the quilt required a trip to the fabric store (my first for this project!). For many years I have been using a spool of "pearl cotton" my Mom gave me (this thread is approximately the thickness used for crocheting), but I didn't have enough for the 400+ ties this quilt would require. The only point of sadness in this project was using up a supply of something bequeathed by my Mom and realizing there was NO MORE. However, I got over that (a trip to the fabric store always cheers me up!) and found another source of pearl cotton at our local JoAnn's.
The next learning on this project was that I accidentally bought thicker thread than what I had previously used. At first try it was so thick I couldn't get the needle through all three layers of fabric, and I thought I'd have to go back and buy thinner thread. But my curved needle saved the day, and I was able to use this thread. For future reference, size 10 is the best crochet thread to buy!

For this part of the process, I set up a table in the living room and opened the window, turned on the fountain, and enjoyed the good light and beautiful fountain sound. The only frustration was the sheets that I had used (white and dark blue) were very hard to tie through. I think the thread count was much higher than regular quilting fabric, and by the time you doubled it (since I tie in the corners I have to go through the seam) it was quite a challenge. But I powered through and after a few days had all the tying done

The last part of the process was to finish the edges. The outside border was dark blue and thick enough to fold it over the back. Since they were the exact same fabric I thought that would be a nice look. I did the final trimming and pinned the edges before taking off for my jam-making party weekend!
Back home on Sunday, I sewed two edges in the evening, then had the final two edges to finish before getting it in the mail. I wanted to allow plenty of time for it to get to Katelyn in time for her birthday, so pushed myself to finish the edges first thing Monday morning and mail it that day.
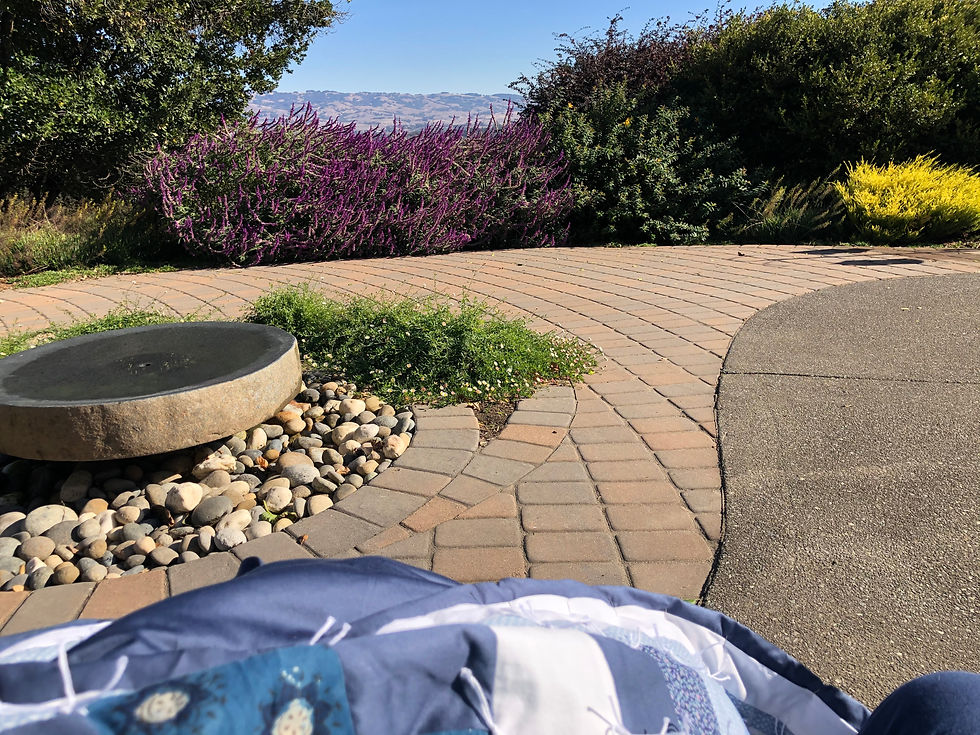
After an endless summer, this was the first day we'd felt a hint of fall in the air. The air was chilly, but sitting in the sun outside on my new (to me) swing seemed like a great way to finish this project. I greatly enjoyed sitting on the swing with the quilt on my lap, enjoying the view and the bird song, and finishing the edges. I actually had to turn off the fountain as it interfered with my enjoyment of nature!

One last tip my Mom taught me when hand-sewing something that will get a lot of wear and tear and washing is to make a finishing knot every 5-10 stitches, and keep sewing (vs. cutting the thread as you usually might after tying this kind of knot). That way if the edge starts to unravel, it will only go a short way before hitting one of these knots.
As is common when you live in the country, you are often surprised by wildlife. Sometimes it's a skunk as you go outside in the dark, or a lizard skittering up the side of the house when you walk by. In this case, I had a "friend" under the fountain who was keeping me company!


It’s beautiful, Lamar! Well done!